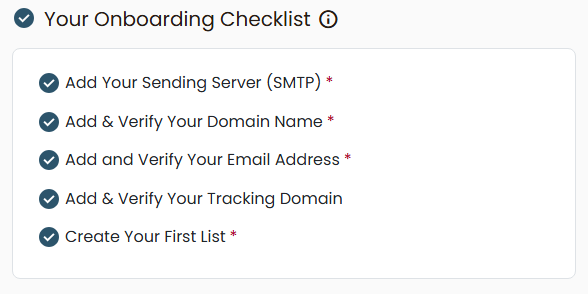
Before sending campaigns at scale, Send Onyx requires a few essential setup steps. The Onboarding Checklist ensures your account is configured correctly for deliverability, tracking, and compliance.
Completing all checklist items is mandatory to unlock full sending capabilities and protect your sender reputation.
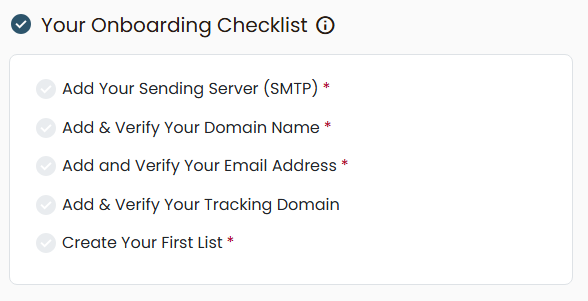
Why the Onboarding Checklist Matters
Email providers evaluate multiple technical signals before inboxing your emails. The onboarding steps help you:
- Authenticate your sending identity
- Improve inbox placement
- Enable accurate open and click tracking
- Prevent spam filtering and domain issues
Checklist Item 1: Add Your Sending Server (SMTP)
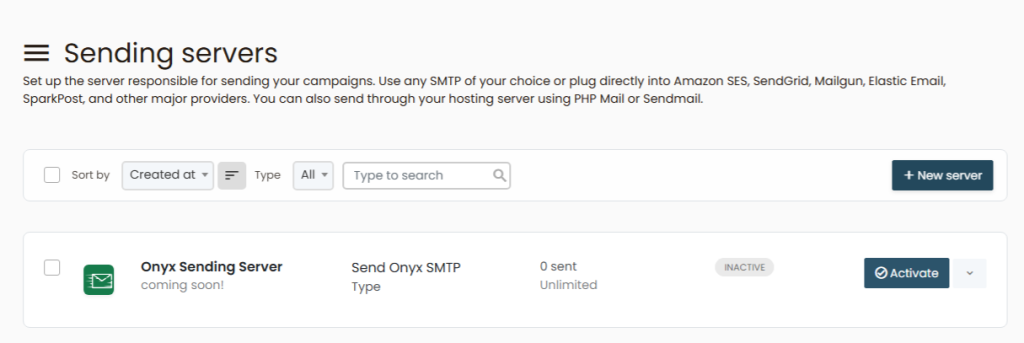
Purpose: Connect Send Onyx to the server that will send your emails.
What this does
- Routes outgoing email through your SMTP provider
- Enables Send Onyx to send campaigns on your behalf
What you’ll need
- SMTP host
- Port
- Username
- Password
Once added, Send Onyx will automatically test the connection.
Checklist Item 2: Add & Verify Your Domain Name
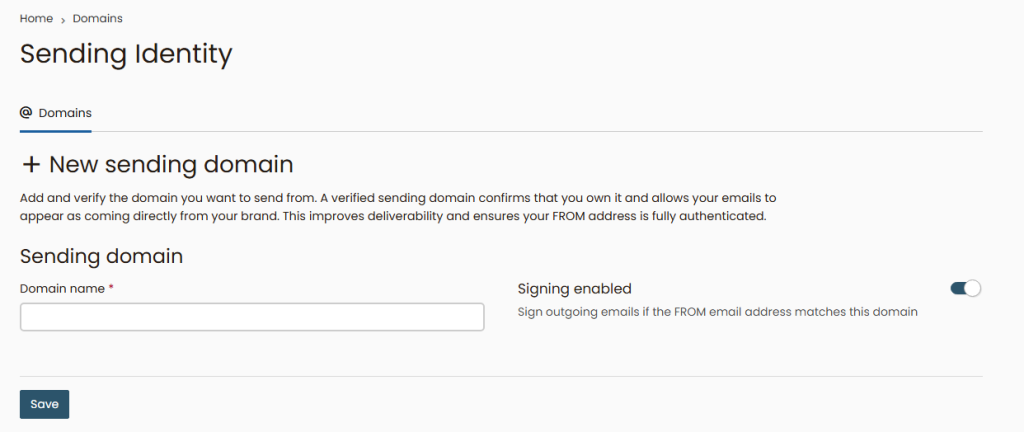
Purpose: Authenticate your domain and protect your brand.
Why is this required?
Domain authentication tells inbox providers that Send Onyx is allowed to send emails using your domain.
Common DNS records involved
- SPF
- DKIM
- DMARC (recommended)
After adding the records to your DNS provider, Send Onyx will automatically verify them.
⚠️ DNS changes may take up to 24 hours to propagate.
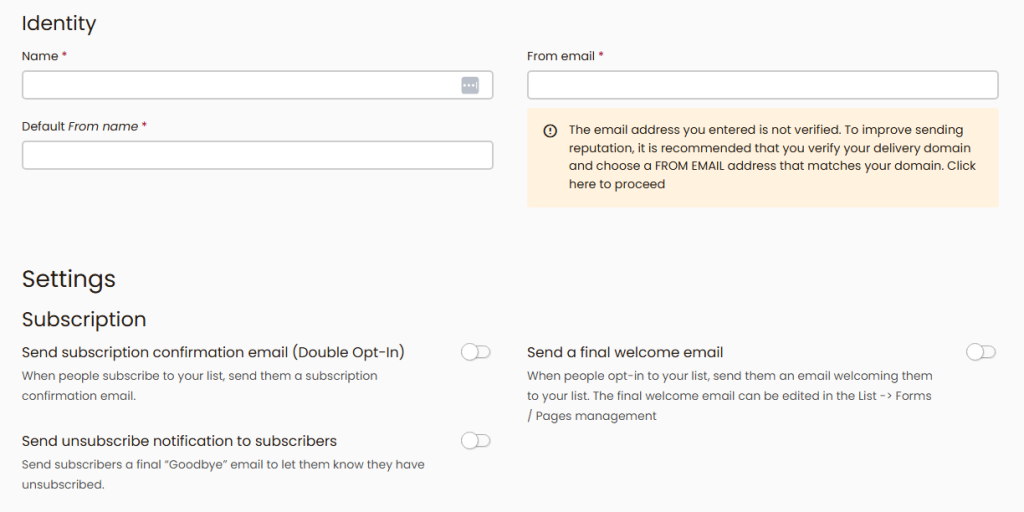
Checklist Item 3: Add & Verify Your Email Address
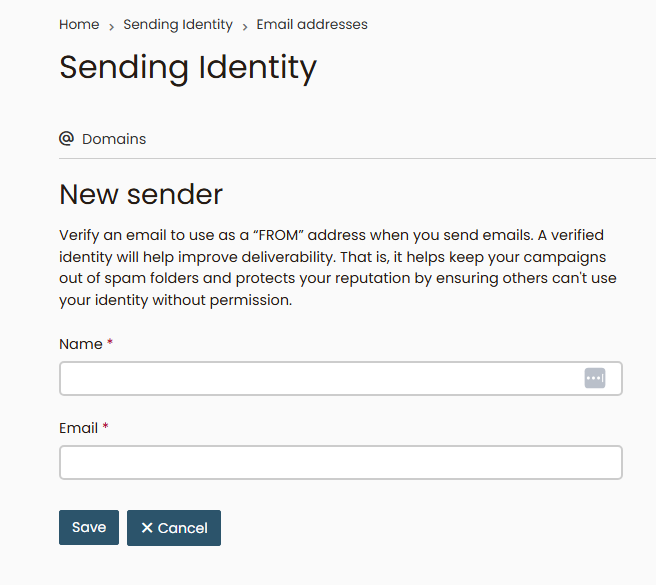
Purpose: Confirm ownership of your sender email.
How it works
- Add your sender email address
- Send Onyx sends a verification email
- Click the confirmation link
This step prevents spoofing and ensures compliance with email standards.
Checklist Item 4: Add & Verify Your Tracking Domain
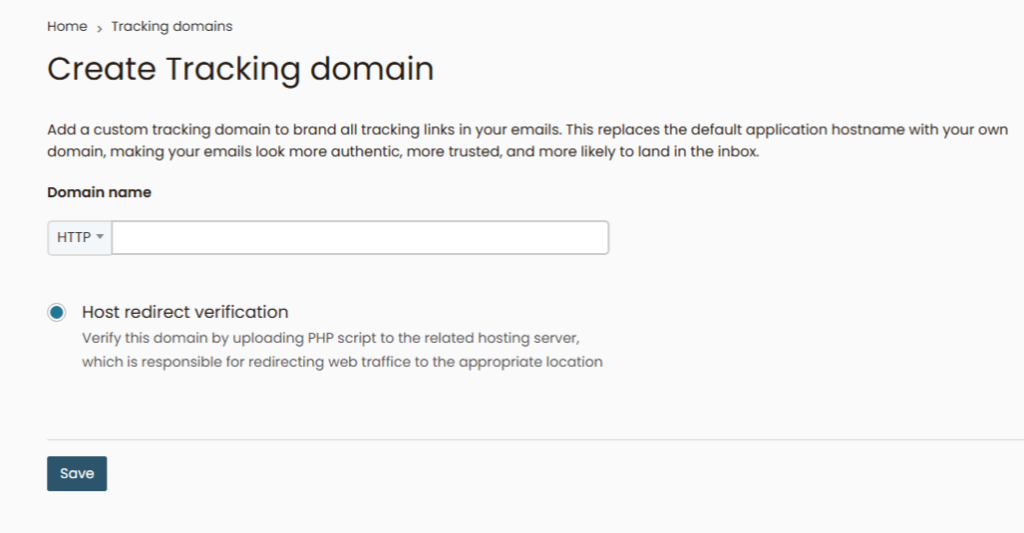
Purpose: Enable click and open tracking using your own domain.
Benefits
- Improved deliverability
- Reduced spam filtering
- Branded tracking links
A tracking domain replaces generic tracking URLs with your own branded subdomain (e.g. tracking.yourdomain.com).
Once DNS is configured correctly, Send Onyx activates tracking automatically.
Checklist Item 5: Create Your First List
Purpose: Organize subscribers and enable sending.
Lists allow you to:
- Segment audiences
- Control who receives campaigns
- Track engagement per list
You can create an empty list or import subscribers immediately.
This step is required before launching any campaign or automation.
Completion Status & What Happens Next
Each checklist item updates in real time as it’s completed. Once all steps are marked complete, your account is fully activated.
At this point, you can:
- Send campaigns without restrictions
- Build automation sequences
- Track opens and clicks accurately
- Scale volume safely
Common Issues & Tips
- Verification pending? Double-check DNS records and wait for propagation
- SMTP failing? Confirm credentials and port configuration
- Tracking issues? Ensure SSL is enabled on the tracking subdomain
Proper setup once prevents long-term deliverability problems.