Popup forms are one of the most effective ways to capture leads and grow your subscriber list. In Onyx, designing a popup is a streamlined process that gives you full creative control while keeping the technical setup simple.
1. Navigating to the Design Studio
To start, you need to head to the central design hub. Unlike standard list forms, popup designs are managed in a dedicated section to help you keep track of your different marketing campaigns.
- The Path: Log into your Onyx dashboard and click on Design in the main navigation menu.
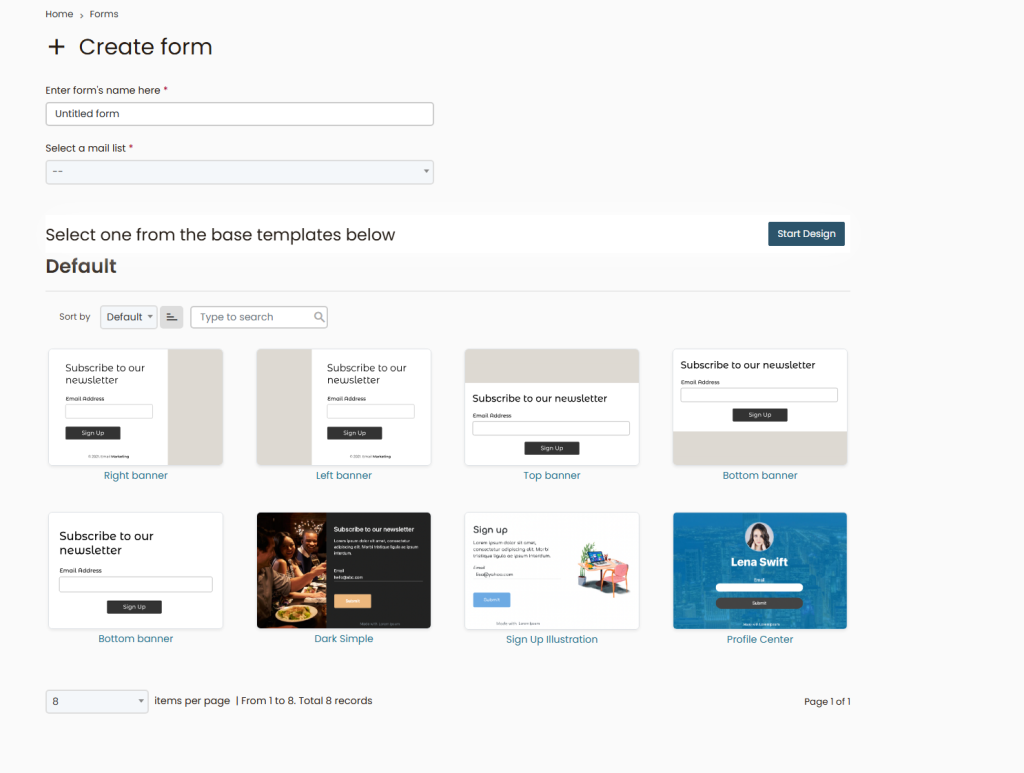
- Selection: Once the design page loads, select the option labeled Create a form.
2. Launching the Visual Builder
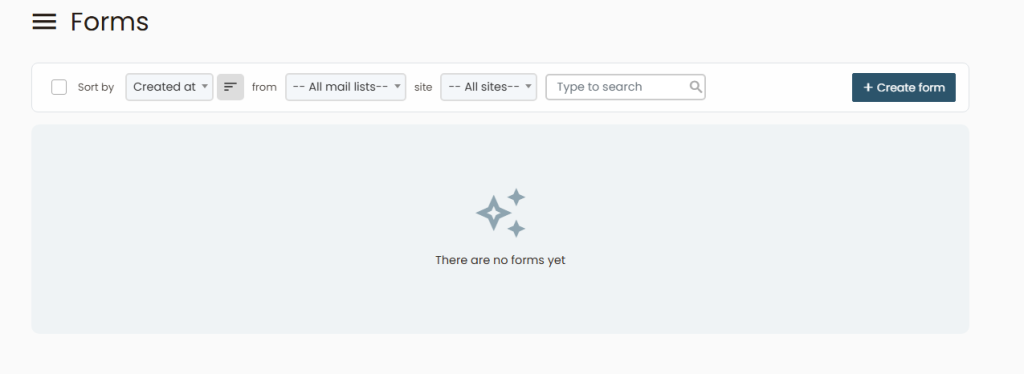
After entering the popup management area, you will see a list of your existing designs (or an empty state if this is your first one).
The Engine: Onyx uses a powerful drag-and-drop builder (based on the Acelle engine), which allows you to move elements, add images, and change layouts in real-time without touching a single line of code.
The Action: Click the Design a form button to enter the visual editor.
3. Setting Up Triggers
The design isn’t just about how the popup looks; it’s about when it appears. Within the editor settings, you can define the “behavior” of your popup.
- Time Delay: Shows the popup after the user has been on the page for a specific number of seconds.
- Scroll Depth: Triggers the popup once the user reaches a certain point (e.g., 50% of the page).
- Exit Intent: The most popular choice—it detects when a user is about to close the tab and shows the form as a last-second offer.
4. Finalizing and Saving
Once you have perfected the colors, fields, and triggers, it is time to make it live. Onyx ensures that your design is automatically responsive, but you should always use the toggle at the top of the editor to check the Mobile View.
- Review: Ensure your “Close” button (the X) is clearly visible so users don’t feel trapped.
- Save: Click the Save button in the top right corner. Your popup is now saved and ready to be linked to any of your subscriber lists.