A Sequence (also known as an Automation or Workflow) is a series of emails sent automatically based on a specific trigger. Instead of manual broadcasts, sequences allow you to build “set-it-and-forget-it” marketing funnels that engage your subscribers 24/7.
1. Initiating the Automation
In Onyx, sequences are built using a visual canvas where you can map out the entire journey of a subscriber.
- The Path: Log into your Onyx dashboard and click on Send and then Sequences in the main navigation menu.
- The Action: Click the Create New button. You can choose to start with a blank canvas or use a pre-defined workflow template.
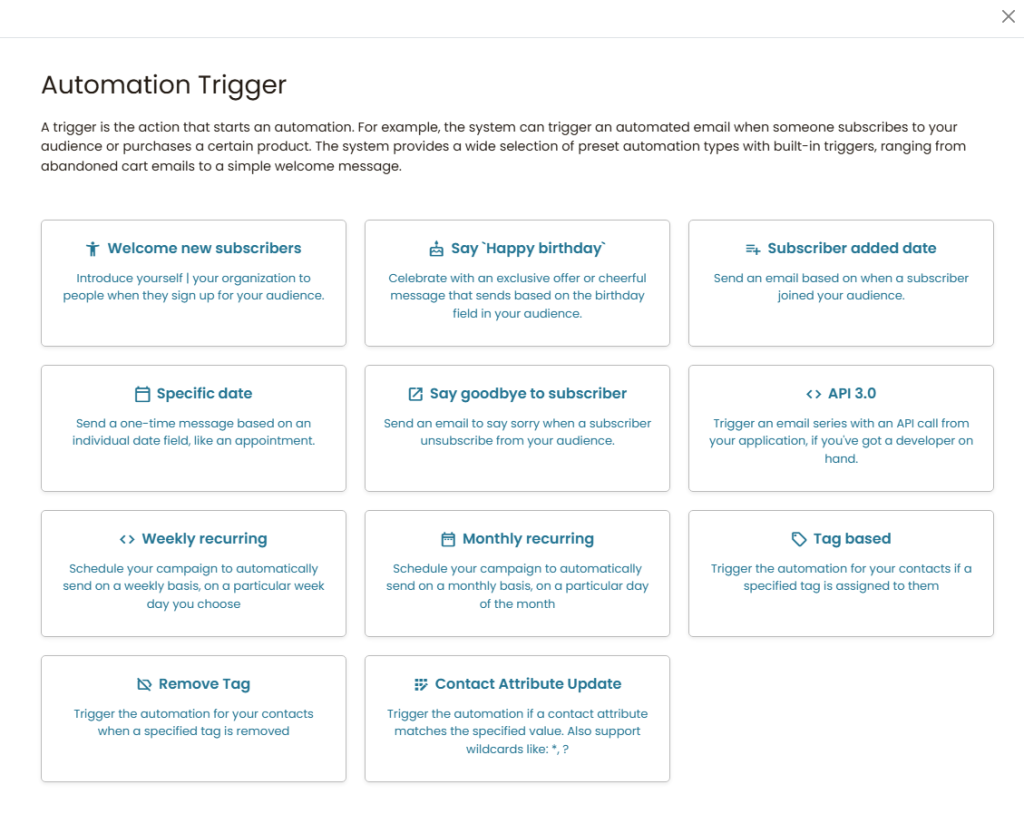
2. Defining the Trigger
Every sequence needs a “starting gun”—an event that tells Onyx to start sending emails to a specific person.
- Common Triggers: The most frequent trigger is “On List Subscription,” which starts the sequence the moment someone joins your list via a popup or landing page.
- Other Triggers: You can also trigger sequences based on a subscriber clicking a link, a specific tag being added, or even a birthday.
The Welcome Hook: Your first email in a sequence should always be delivered “Immediately.” This is when subscriber interest is at its absolute peak. Use this first email to deliver your lead magnet or a warm “thank you” to establish trust instantly.
3. Building the Workflow (Wait & Email)
Once the trigger is set, you use the visual builder to add steps. Most sequences follow a simple logic of Email -> Wait -> Email.
- Wait Steps: Always add a “Wait” period between emails (e.g., Wait 1 day, Wait 3 days). This prevents you from spamming the subscriber’s inbox all at once.
- Conditional Logic: You can add “Check” steps. For example: “If the user opened Email #1, send Email #A. If they didn’t, send Email #B.”
The Fatigue Trap: Don’t make your sequences too aggressive. Sending an email every single day for two weeks is a fast way to get reported for spam. Space your content out—quality and timing always beat pure volume.
. Activating the Sequence
By default, new automations are created in “Draft” mode so they don’t start sending while you are still building them.
- Final Check: Ensure all your emails have subject lines and that your links are working.
- Go Live: Toggle the status from Draft to Active. From this moment on, anyone who meets your trigger criteria will automatically enter the funnel and start receiving your emails.
Important: Handling Existing Subscribers
If you are activating a sequence for a list that already has subscribers, toggling it to “Active” will only affect people who join from that moment forward. To pull in your current list:
Set the automation to Active.
Go to the Insights/Stats tab of that specific automation.
Locate the option to “Trigger all” or “Enroll existing contacts” to initiate the sequence for everyone currently on the list.